
My Starkey
Leap connectivity barriers in a single app


 A new dimension
of connectivity
My Starkey
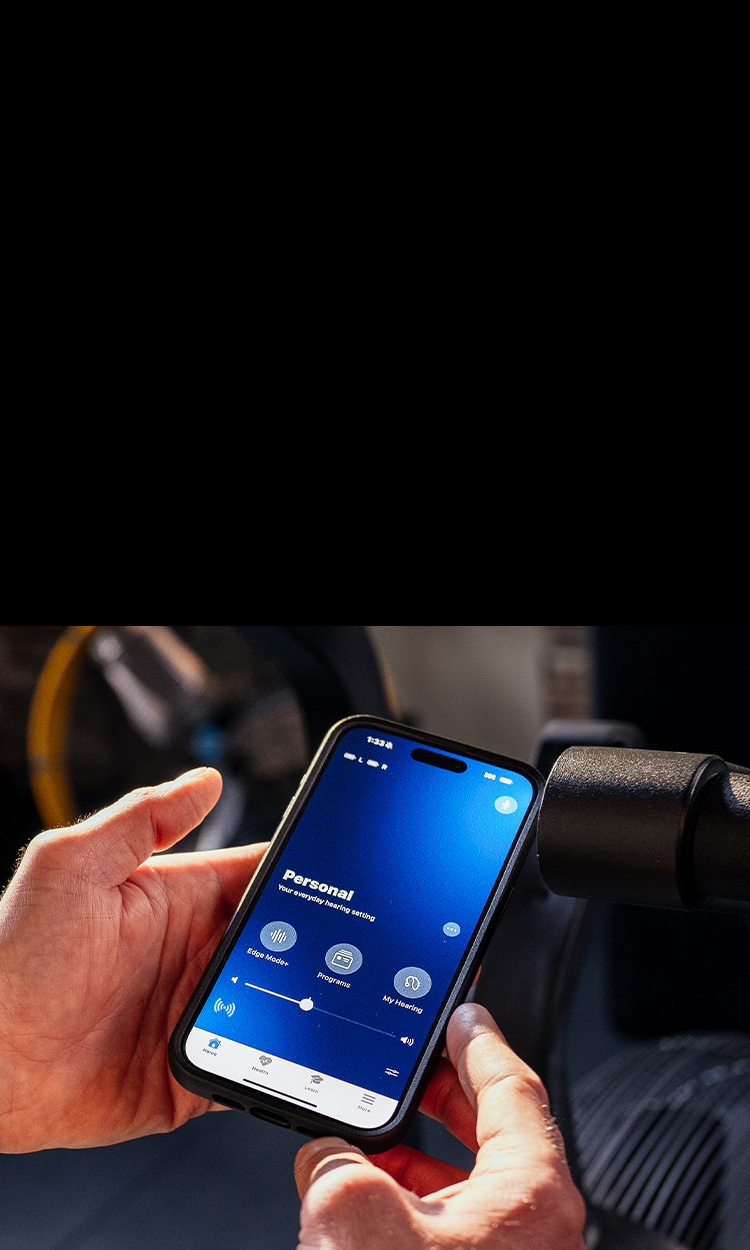
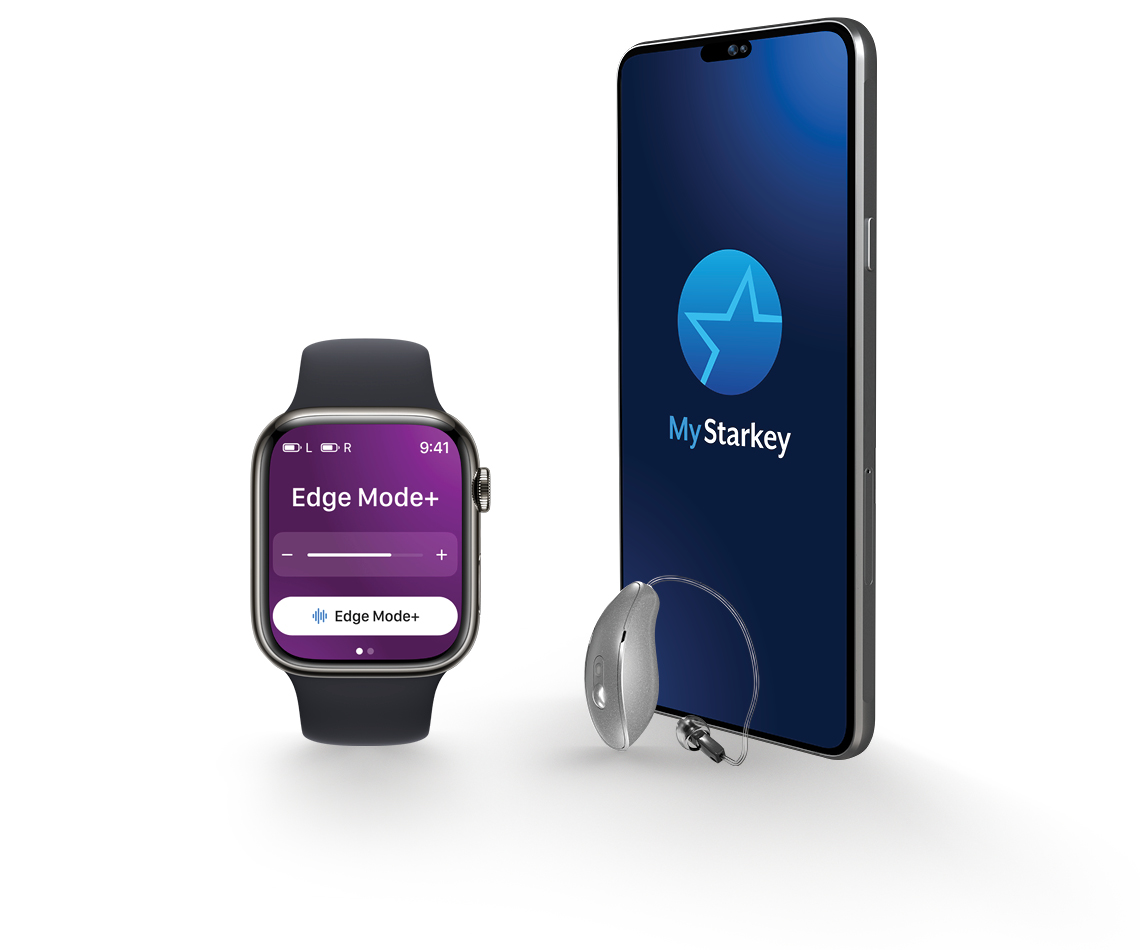
Designed with the input of hearing aid wearers, My Starkey pairs with Starkey hearing aids to help your patients enjoy greater listening moments, improved well-being, and easier everyday living — all from the palm of their hand or wrist with Apple Watch compatibility.
User friendly and easy to read, My Starkey allows patients to:
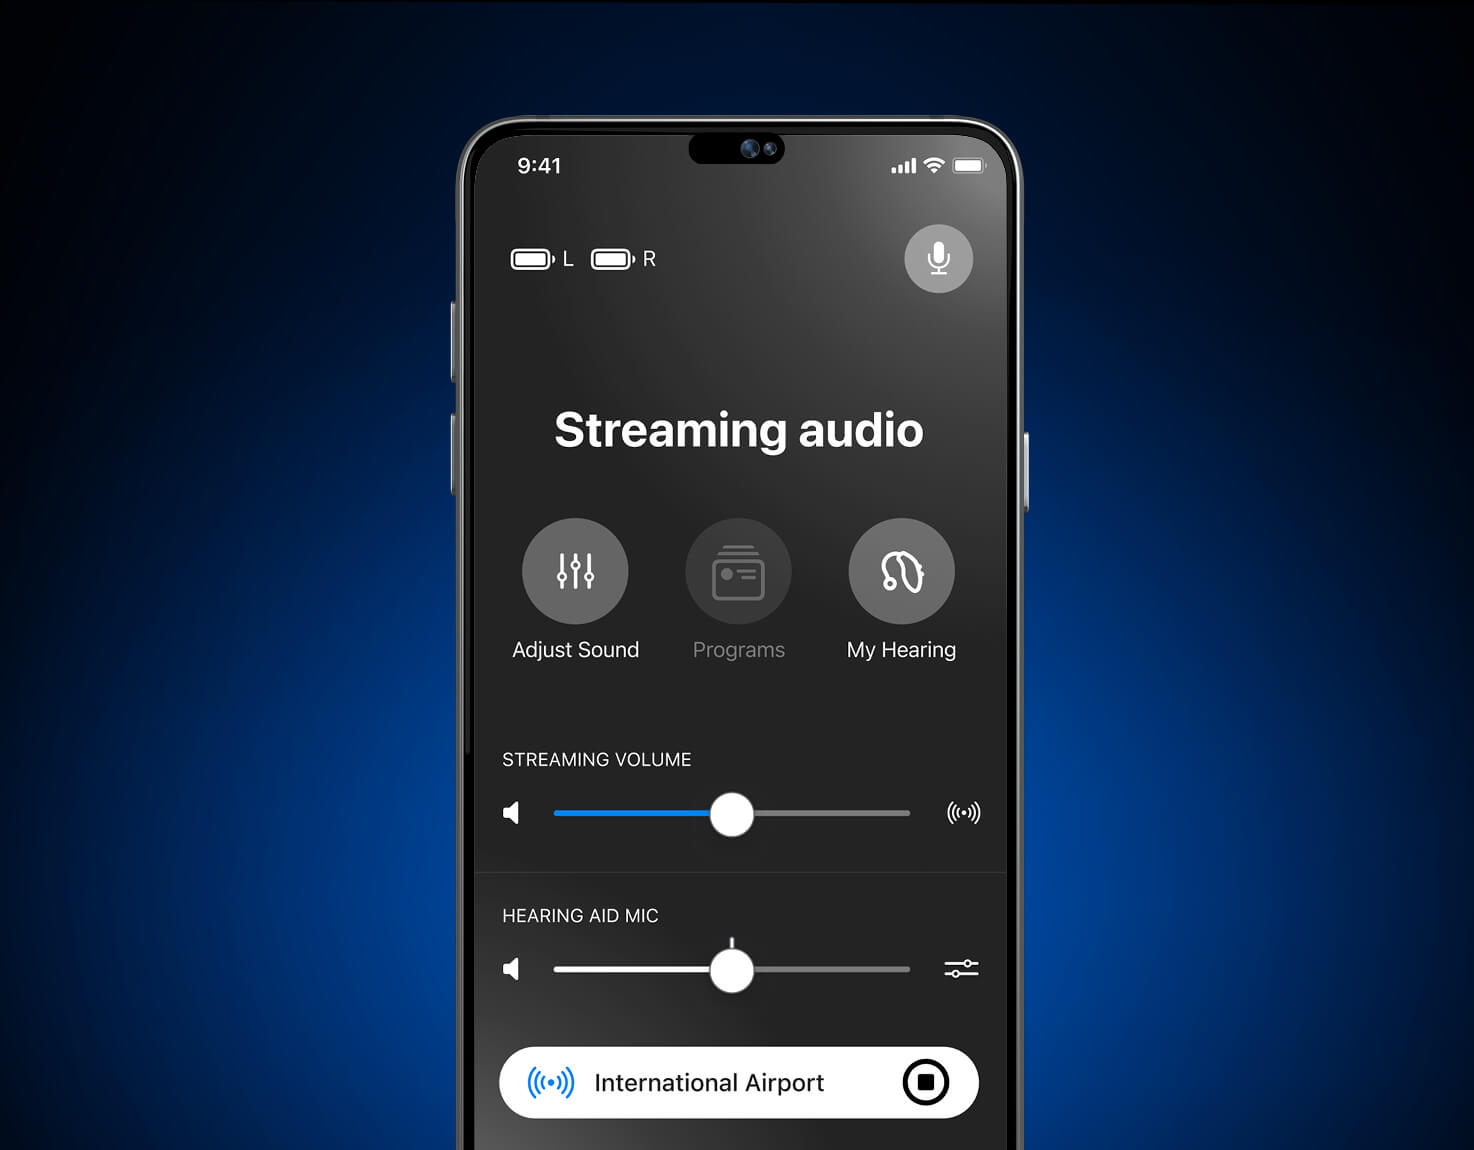
- Adjust hearing aid settings, stream calls and TV, and even find lost hearing aids with a variety of hearing control features.
- Accurately count steps, track engagement, improve balance, and help achieve well-being goals.
- Translate languages, set reminders, get instant adjustments, and take advantage of an array of features that make life easier.
Compatible with Omega AI, Edge AI, and Genesis AI hearing aids.

My Starkey App Demo
Explore My Starkey app features and a seamless user experience with your patients. Simply hover over the phone and click through each feature—no log-in necessary.
Explore top My Starkey app features and a seamless user experience with your patients. Simply tap the phone and click through each feature—no log-in necessary.
A few of My Starkey’s many features
My Starkey app setup
Below are step-by-step instructions on how to set up and connect your patients’ hearing aids with the My Starkey app. Check their phone compatibility from a list of compatible devices.
Apple Device
- Open the App Store®.
- In the search box type "My Starkey".
- Tap GET to download the app to the Apple device.
Android Device
- Open the Google Play™ store.
- In the search box type "My Starkey".
- Tap INSTALL to download the app to the Android device.
Follow the instructions below to pair your patient’s hearing aids to their Apple or Android device and complete the initial app setup.
Apple Device
Pairing the hearing aids to the patient’s compatible device:
1. Tap the Settings icon. Select Accessibility > Hearing Devices. (If the Bluetooth toggle shows OFF, move it to ON.)
2. Turn the hearing aids OFF and then ON to activate pairing mode.
3. Under MFI Hearing Devices you should see the patient’s hearing aids (e.g. “Jane’s hearing aids”). Tap this.
4. A dialog box pops up for each hearing aid (RIGHT and LEFT). Tap Pair for each dialog box. Pairing is complete.
My Starkey initial setup:
1. Open the My Starkey app. You’ll then be prompted to set up. Tap Get started to begin.
2. Review the terms of use with the patient: This includes End User License Agreement and privacy policy. Tap Accept to continue.
3. Sign in to the app. Have the patient create an account:
- Provide an active email address.
- Create a password following the guidelines and sign in.
or select Skip for now to postpone account creation.
4. The app will show a short series of permission screens:
- Read the descriptions.
- Tap Allow or Continue.
5. Connect the patient’s hearing aids. Follow the prompts to set up and connect the hearing aids with the app:
- Ensure the hearing aids are charged and powered ON.
- Tap Continue.
- Once the app finds your patient’s hearing aids, a congratulations message appears.
- Review the app home screen overview and get to know the key features.
- Tap Got it.
They’re all set to start using the app.
Android Device
My Starkey initial setup and pairing the hearing aids to the patient’s compatible device:
1. Tap the Settings icon on the device.
2. Ensure Bluetooth is on.
3. Open the My Starkey app. Tap GET STARTED to begin.
4. Review the terms of use with the patient: This includes End User License Agreement and privacy policy. Tap ACCEPT to continue.
5. Sign in to the app. Have the patient create an account:
- Provide an active email address.
- Create a password following the guidelines and sign in.
or select SKIP FOR NOW to postpone account creation.
6. The app will show a short series of permission screens:
- Read the descriptions.
- Tap ALLOW or CONTINUE.
7. Pair and connect your patient's hearing aids. Follow the prompts:
- Ensure the hearing aids are charged and powered ON.
- Tap CONTINUE.
- When a pair of hearing aids is found, the app will prompt you to confirm they are your patient’s. Tap PAIR.
- You’ll be asked to link the My Starkey app with the hearing aids. Tap CONNECT.
- Once connected, a congratulations message appears.
- Review the app home screen overview and get to know the key features.
- Tap GOT IT.
They’re all set to start using the app.


